BLOG TITLE photo dotFWF_zpsbc04b97d.pngBLOG TITLE photo dotFWF_zpsbc04b97d.pngBLOG TITLE photo dotFWF_zpsbc04b97d.pngBLOG TITLE photo dotFWF_zpsbc04b97d.pngBLOG TITLE

Sunday, October 30, 2011

DIY Lip Exfoliator

If you know Zach and me, you know we love our sweets (there was talk of bypassing the whole lips part and just eating the stuff). You also know that I've struggled quite a bit in the last year and a half with kidney stones because of my not so great relationship with drinking water. Don't worry, we never took "a break" or anything that traumatic. I'm happy to say our relationship is on the mend but my lips still get pretty chapped from time to time, especially this time of year as the weather cools down. I was googling homemade remedies yesterday and was delighted to find this on Livestrong, especially since we already have the ingredients in our kitchen. You probably do too! 
You simply mix equal parts together and store in a covered container. When using, apply a small amount to clean, dry lips. Scrub with your forefinger all over in a circular motion. The sugar will loosen and remove dry skin while the oil and honey will hydrate your lips. Wipe away excess with a tissue and apply your favorite lip balm to lock in the moisture. This makes lipstick go on with a nice smooth and even texture, too.

This stuff really works, you guys. And the best part? Forget the tissue; sweet Z likes to kiss it right off.
I found this cute jar/wooden spoon at an antique shop we spent entirely too long in today. Don't you think this would make a great little gift? We also found these spreaders at Goodwill today...$1.99 for a set of 4. They are Lenox and have never been used; my favorite part is that there's a bumblebee on one side and a ladybug on the other :).
Natural is always better in my book, especially when natural means sugary-sweet goodness. Go ahead, mix you up some! Your silky smooth lips will thank you later.

Saturday, October 29, 2011

Initial Key Fob

I am always losing my keys. It's hereditary, most definitely (if you're reading this Mom, you know what I mean). I bought a $1 ribbon keychain at Michaels a few months ago that held up well but finally bit the dust last week; I have been lost ever since. Almost as lost as my keys keep getting, buried inside the depths of my Mary Poppins purse. That is until this was created. It's sort of like magic; the ribbon seems to grow and grow like a tapeworm when you need it most (nasty analogy...sorry). Reach in your purse and BAM...there she is. Yes, my keys are of the female gender. After all, they have spent most of their life getting lost. Not anymore though. Behold the easy-to-make key fob/lifesaver.
I know, it's not very fancy shmancy. But guess what? This is my first official BMF piece (really want to finish this sentence with six exclamation points, but I'll spare you my over-excitement). All I did was stitch the ribbon around a keyring, stitch my initials and hearts, sew the pearls on, then glue lace to the back. No more losing those silly little runaway keys!

Thursday, October 27, 2011

White Chocolate Covered Brownie Bites

When Katy told us they were coming to visit last weekend, I instantly knew we needed to bake something yummy. Knowing she and Caleb both love brownies and white chocolate, I figured we could tweak this recipe to combine the two. It took a little time and patience, but worked out really well (and tasty!) in the end. They are very rich, but that's just how we like 'em.

You will need:
1 brownie mix (and oil/egg that it calls for)
white almond bark
sprinkles (optional)


1. Prepare brownie mix according to package directions. Bake until toothpick comes out nearly clean from center but still slightly undercooked. Remove from oven and let cool for 15 minutes. When you are able to touch brownies comfortably, scoop brownies with a medium cookie scoop or melon baller, roll tightly into a ball and place onto a wax paper or foil lined baking sheet (make sure the cookie sheet fits in your freezer...this is a little problem we ran in to!). Continue rolling until brownies are gone. Freeze brownies until very firm, a couple hours or overnight.

2. Melt almond bark in microwave and dip brownie balls into the chocolate using a skewer or toothpick. We used skewers and they worked just fine. Drop each ball back onto the covered cookie sheet and sprinkle them. Once they're dry, eat 'em all up!


Thanks for reading!

Tuesday, October 25, 2011

K & C Visit: Saturday


Do you ever have those days you wish would never end? Like everything is this perfect storm of awesomess and silliness and eight-year-old-ness that you could never quite recreate, even if you tried. That was our Saturday.

We started the morning off right with breakfast from Crave Cupcakes before heading to the antique mall by our apartment. Nothing like a little red velvet cake to get you going. Apparently Katy and I had a tad bit too much sugar via cream cheese frosting, as evident by our never-ending fashion show. We didn't care; we loved every minute. Surely Caleb, our photographer for the shoot, did too.
Zach could live in this section. Is it weird that I think his love of old, irrelevant documents is the cutest thing ever?
When Katy found this hat, it was all over. We were gonna try on every one they had...

which turned into trying on every dress they had, as well.


Tea and crumpets, anyone?


While we played dress up, Zach scoured the shelves for oil pictures. Not to be confused with oil paintings...I'm talking about pictures of oil shooting up out of the ground. Lucky us! He found one.
He knows how to get silly, too.
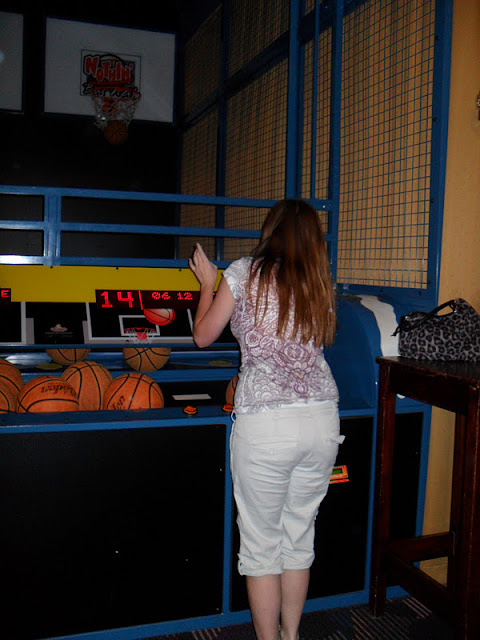
Next stop, lunch and games at Dave & Busters. As if we didn't have enough fun at the antique center.


Zach displayed some major intensity at the battleship game.

I displayed some major losing at the Deal or No Deal game.

Evidence that we should never procreate. Thanks for the hope, Gene Machine.

We made brownie balls! Recipe coming soon.

The rest of our day was a blur of Papa John's meat lovers, A&M football, and a late night movie marathon. Like I said, the perfect storm.

Oh, and did I mention that we also got some (60% off) Christmas decor at the antique center? Made my week. Especially since Christmas is officially only 2 months away. Bring on the carols and apple cider....we're ready.

Monday, October 24, 2011

Katy & Caleb Visit: Friday

I know I've mentioned it 47 times, but just in case you missed it, Zach's sister Katy and her boyfriend Caleb came to stay with us this weekend in good ol' H-town. I'm breaking their visit up into 2 posts because there are entirely too many pictures (oopsie); I think I'll spare y'all yesterday's happenings because we pretty much looked like zombies by the time Sunday morning rolled around. That's how you rate a successful weekend though, right? By how rough you look come Sunday. If that's the case...we did good.

Smashburger!

We decided to go to opening night of Driving Miss Daisy at the Miller Outdoor Theater and showed up about thirty minutes early...plenty of time to walk down to a park and get silly.


My husband bragged "I have balance like a cat" and we all giggled. But guess what? He kinda does.
This is my husband, the cat, falling to the ground.

Katy the Ballerina....
and ninja

The amazing Miller Outdoor Theater. All shows are free! October is such a perfect time to go, too.

And a sneak peek of Saturday's adventures:

Bringing out our inner Romy and Michele...

Who says you can't get a little crazy in an antique mall?